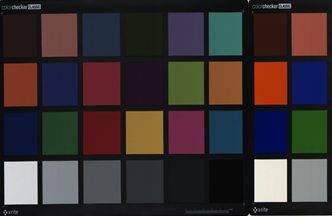
 Machine vision systems for automated inline quality control are becoming industry standard as the benefits these systems provide are numerous.
Manual inspection can be slow and notoriously inaccurate, with many features not reliably detectable even by the most detail-oriented staff.
ProSensus specializes in machine vision systems outfitted with the ideal combination of hardware and software to accurately measure and log product quality.
The camera(s) for any application is selected based on the features that need to be quantified:
Colour image features: number of products per image, number of defects per product/image, size of defects, product grade rating (typically based on % of products with certain defects)
Thermal features: minimum, maximum, average, standard deviation (per product or per image)
3D features: product surface area, product height/depth (for tolerance assessment), void detection.
Our trials are a fast and cost-effective way to validate an investment in machine vision. ProSensus has a flexible, portable trial system that can be shipped to our customer’s site to rapidly demonstrate the value of a machine vision solution. The dimensions of our trial system are shown below.

Steps to running an effective trial:
- You tell us what quality measurements are important to you.
- We determine if colour, thermal, 3D imaging, or a combination is best for your application.
- We bring our machine vision demo system to your plant and take high quality images at-line, in real-time, demonstrating the capabilities of the technology.
- Finally, we provide a report summarizing what features can be extracted from the images and next steps.
If you have been contemplating an investment in automation and machine vision, contact us to get started.


